Skip to content

Article

A custom bathroom vanity

Why 3D drawing is useful for designing custom bathroom furniture with tight spaces, water constraints and precise dimensions.

Illustration for A custom bathroom vanity

3D drawing brings clarity

Bathroom furniture has to be precise because space, water, access and daily use create many constraints. A 3D model helps validate the project before production.

A bathroom cabinet can look standard at first sight, but for a woodworker it is often a fully custom piece. The dimensions, wall finishes, basin position, drawers, plumbing access and material choices all have to be checked together before manufacturing.

What makes bathroom furniture specific?

A bathroom vanity often combines drawers, plumbing access, wall constraints, moisture-resistant materials and careful alignment with sanitary equipment.

A customer's sketch or an architect's DWG file is only the starting point. The professional still has to decide exact depth, side overhangs, basin clearances, cut-outs for water inlets and siphons, and the way fronts align with the room.
A custom bathroom vanity: bathroom bleu ocean egger 1 1

Why drawing bathroom furniture is particular
A custom bathroom vanity: bathroom bleu ocean egger 1 1

Small mistakes can become visible quickly: a drawer that conflicts with plumbing, a side panel too close to a wall, or a countertop that does not match the basin.

  • Expensive adjustments on site.
  • Conflicts with plumbing, tiling or other trades.
  • A drawer, door or shelf that cannot be used correctly.
  • A visible alignment problem on a piece of furniture the customer uses every day.
A custom bathroom vanity: manufacturing file labels 1

A restricted space with many constraints
A custom bathroom vanity: changer de coloris wood 1
  • Limited circulation space.
  • Plumbing and technical access.
  • Moisture and material choices.
  • Precise front alignment and clearances.

This is why the design phase must keep technical reservations visible. The vanity may need special cut-outs, controlled clearances around the basin, adjusted drawer depths, and panels suitable for a humid room.

Why design with Aleker for bathrooms?

Aleker helps connect the visual project with technical preparation: the professional can present the furniture, adjust it and prepare the workshop documents.

  • Immediate 3D visualization for customer validation.
  • Precise control of functional clearances and technical reservations.
  • Fast modelling from measurements, sketches or architect drawings.
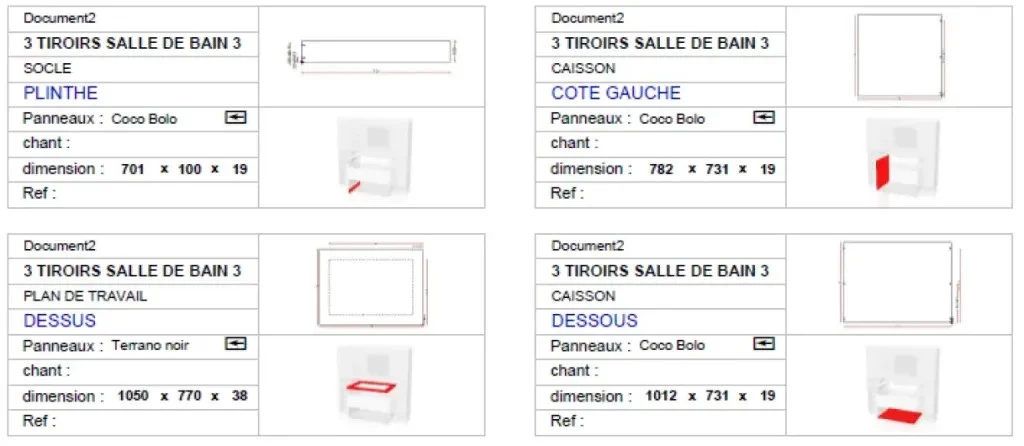
  • Clean workshop output for cut lists, hardware, drawings and machining.
  • A single project file that keeps visual choices and manufacturing data connected.

In a bathroom more than elsewhere, drawing prevents avoidable mistakes. The right CAD workflow makes it possible to preserve the customer's design intent while preparing a cabinet that the workshop and installer can trust.
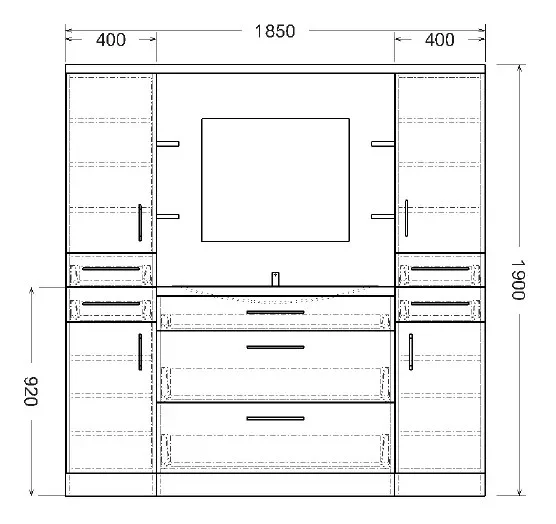
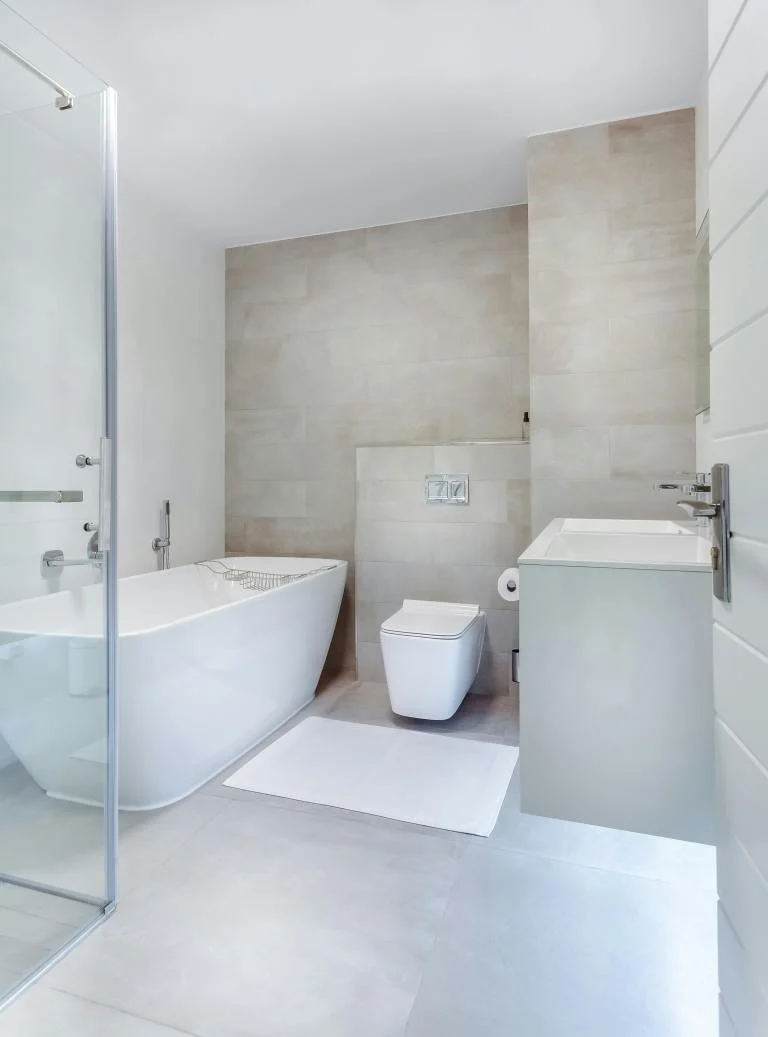
A custom bathroom vanity: views en drawing furniture sdb 1

Bathroom furniture

Design a bathroom vanity with real constraints

A bathroom requires precise dimensions, reservations, suitable materials, readable layout and coherent finishes. 3D design helps validate the appearance and prepare the parts.

Check volumes, basins, niches, openings and plumbing constraints.
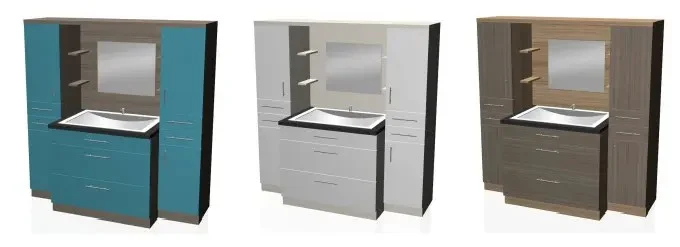
Present material or colour variants to the customer.
Prepare drawings and cut lists for truly custom furniture.
Document details before manufacturing and installation.
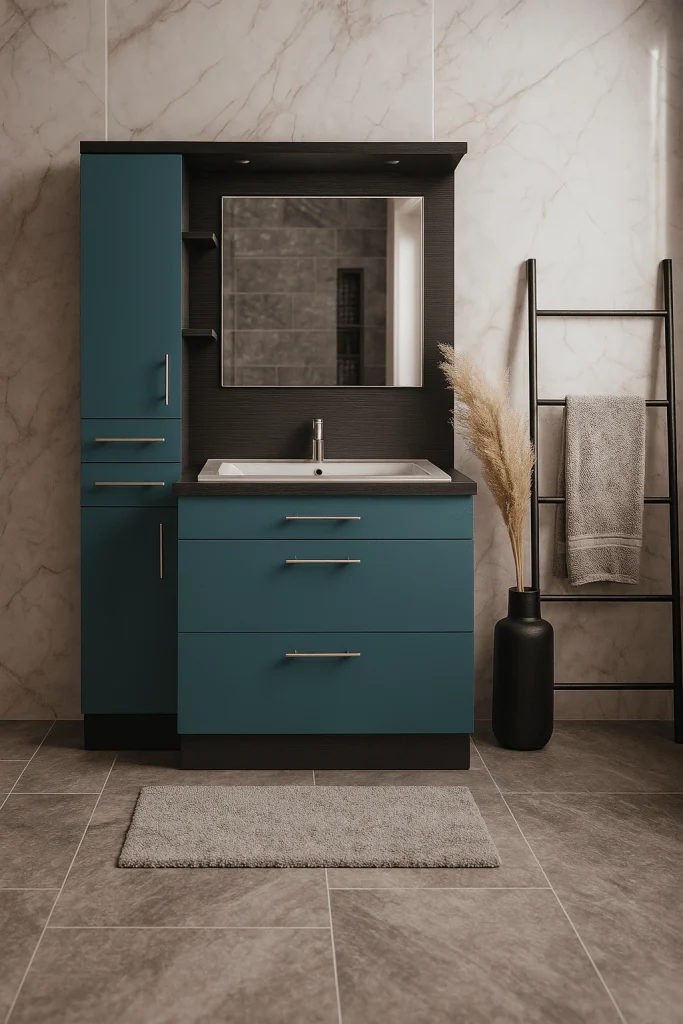
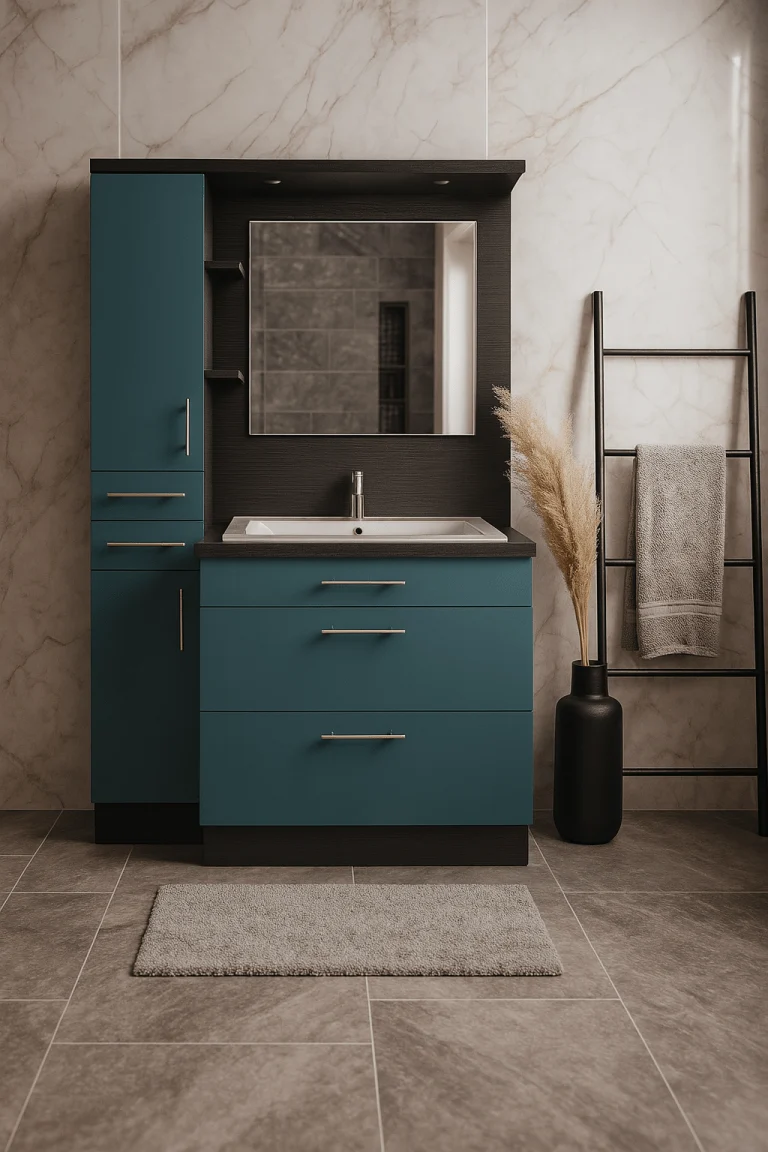
Ocean-blue custom bathroom furniture
Bathroom vanity designed in 3D
Plan views for a custom bathroom vanity

Technical furniture

Small rooms make precision even more important

In a bathroom, a few millimetres can affect doors, drawers, plumbing access or installation clearances. Keeping the model, drawings and manufacturing data connected makes these checks easier.

Draw around the constraints instead of forcing a standard module.
Keep an overview of openings and usable storage.
Prepare the workshop file from validated dimensions.
Reuse the method for future bathroom projects.

Bathroom workflow

The design file must protect the manufacturing file

Bathroom projects often look simple, but they combine humidity, plumbing, appliance access, wall irregularities and small clearances. The value of the CAD workflow is to keep those constraints visible until workshop documents are generated.

Check openings, drawers and maintenance access before validating the design.
Use drawings to clarify reservations and sensitive dimensions.
Keep material choices and thicknesses consistent with workshop rules.
Turn a successful vanity layout into a reusable reference for future projects.

Workshop checklist

How to evaluate this topic in your own workflow

Whatever the project type, the practical question is always the same: can the drawing become useful workshop information without starting again in another file? Use this checklist to connect the article to your own production method, your current documents and the constraints that usually create delays between customer approval and manufacturing.

Choose one recent project that represents your daily constraints, not an idealized demo case, and check how dimensions, materials and customer changes would be handled.
List the outputs you need after validation: customer view, drawing sheet, cut list, cost breakdown, PDF file, optimisation export, CNC data or a complete manufacturing file.
Check which components should become reusable library elements for future projects, including their materials, hardware, names, variables and production properties.
Identify the points where your current workflow requires re-entry, manual checking or duplicated documents, then verify whether a connected CAD workflow removes that friction.
Compare the information needed by each person involved: customer, designer, workshop, installer, subcontractor and machine operator.
Use the demo to test one change late in the project, because revision handling often reveals whether the workflow is genuinely suited to custom work.
Check how the project will be archived after delivery, because reusable references, reliable drawings and clear production data are what make the next similar project faster.
Evaluate the learning curve against the recurring value: a method that saves time on every revision, drawing sheet and cut list matters more than a fast first impression.

Want to see Aleker on your own projects?

A free demo is the fastest way to evaluate the workflow with your real workshop needs.

Request a demo