Skip to content

Article

Designing a 3D kitchen with Aleker Designer

See how 3D kitchen design helps woodworkers present, adjust and prepare a custom kitchen project before manufacturing.

Illustration for Designing a 3D kitchen with Aleker Designer

Why use 3D design for a kitchen project?

A kitchen project has to combine visual choices, dimensions, circulation, storage, worktop constraints and manufacturing preparation. 3D design makes these decisions easier to validate.

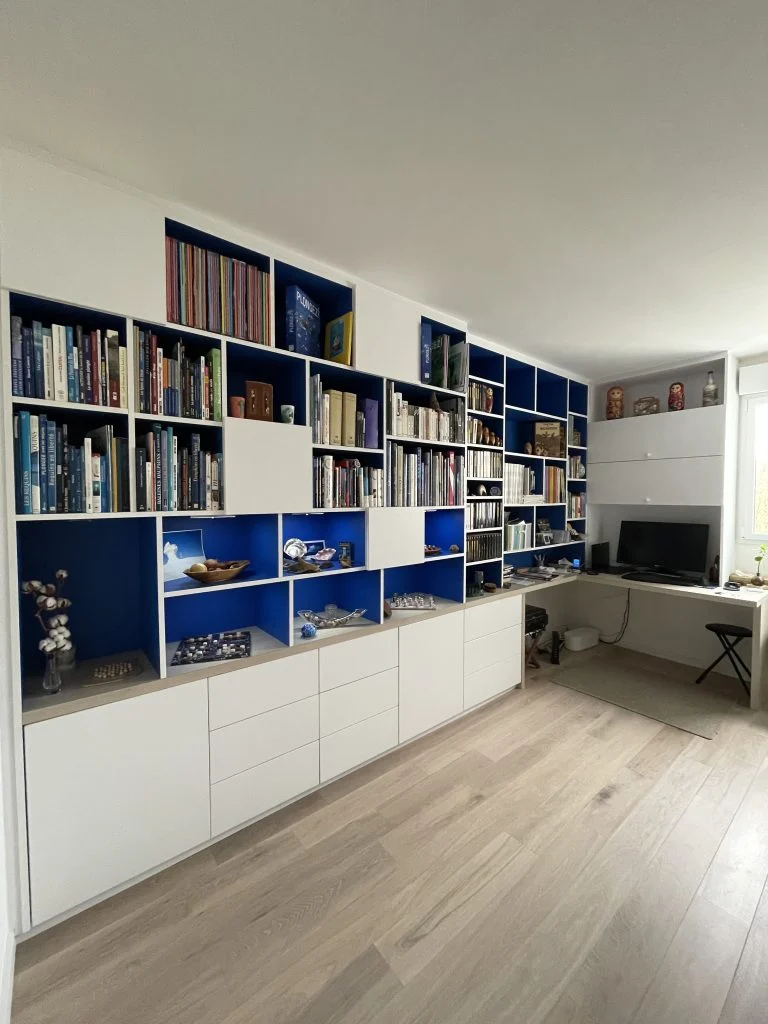
A concrete customer project modelled in 3D

A model gives the customer a direct understanding of volumes, fronts, colours and proportions. It also gives the professional a clearer base for drawings and production.

Designing a 3D kitchen with Aleker Designer: philippe carret 1

The advantages of Aleker for kitchen design
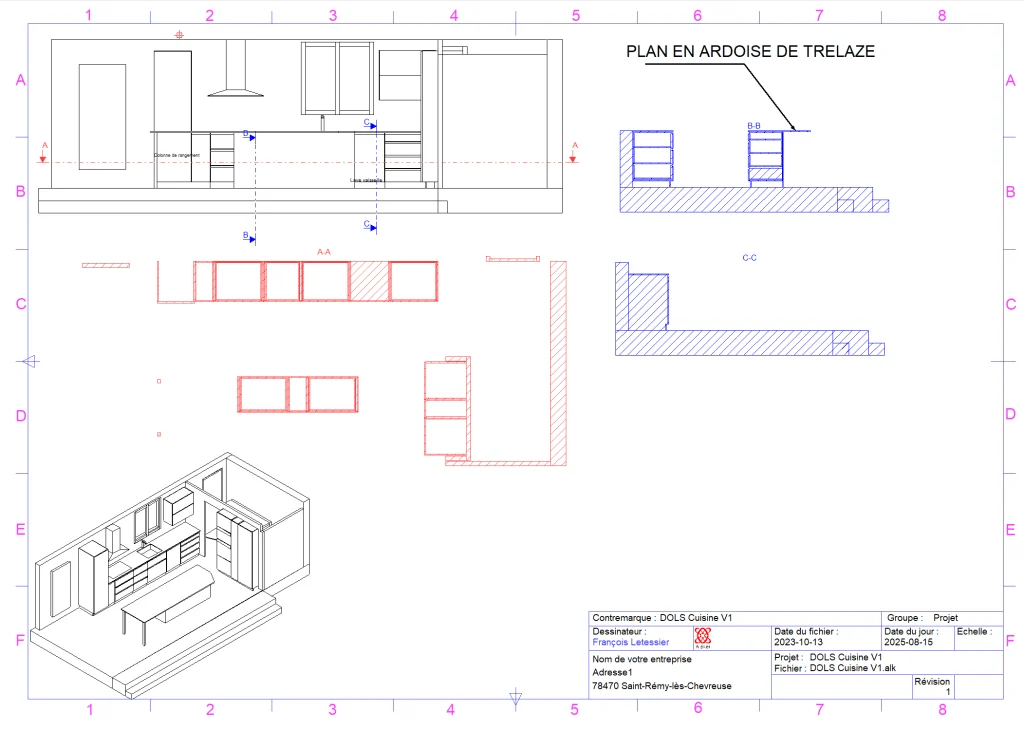
Designing a 3D kitchen with Aleker Designer: drawing technique 2d kitchen en 3d 1 1
  • Visualize the project before manufacturing.
  • Adjust dimensions and components quickly.
  • Keep technical information close to the drawing.
  • Prepare drawings and cut lists from the same model.

A faithful and interactive rendering

The goal is not only to produce a nice image. The rendering helps discuss the project, confirm choices and reduce misunderstandings before the workshop starts.
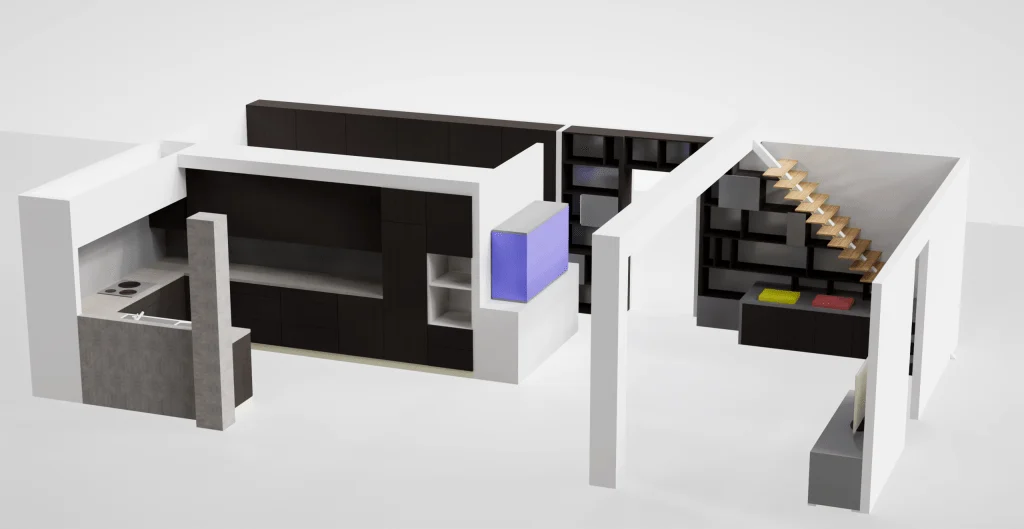
Designing a 3D kitchen with Aleker Designer: kitchen en 3d dans une maison osasture wood 1

A tool made for professionals

Designing a 3D kitchen with Aleker Designer: img 1871 rotated 1

Aleker is designed for woodworkers and fitters who need freedom of design while keeping a practical link with production.
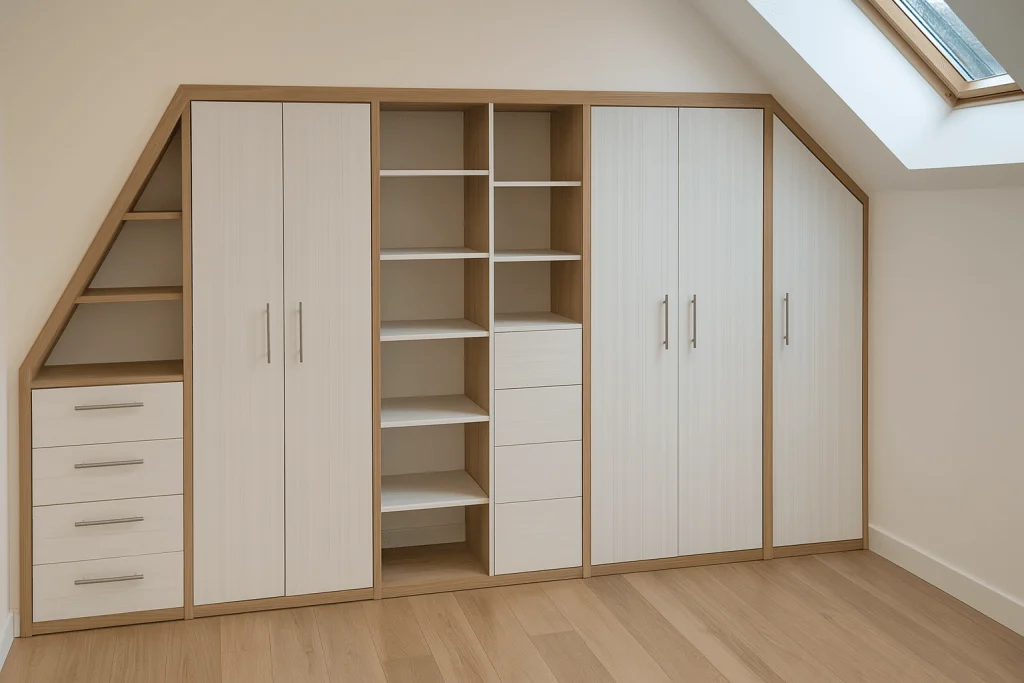
Designing a 3D kitchen with Aleker Designer: furniture double slope 1

3D kitchen design helps sell and reassure
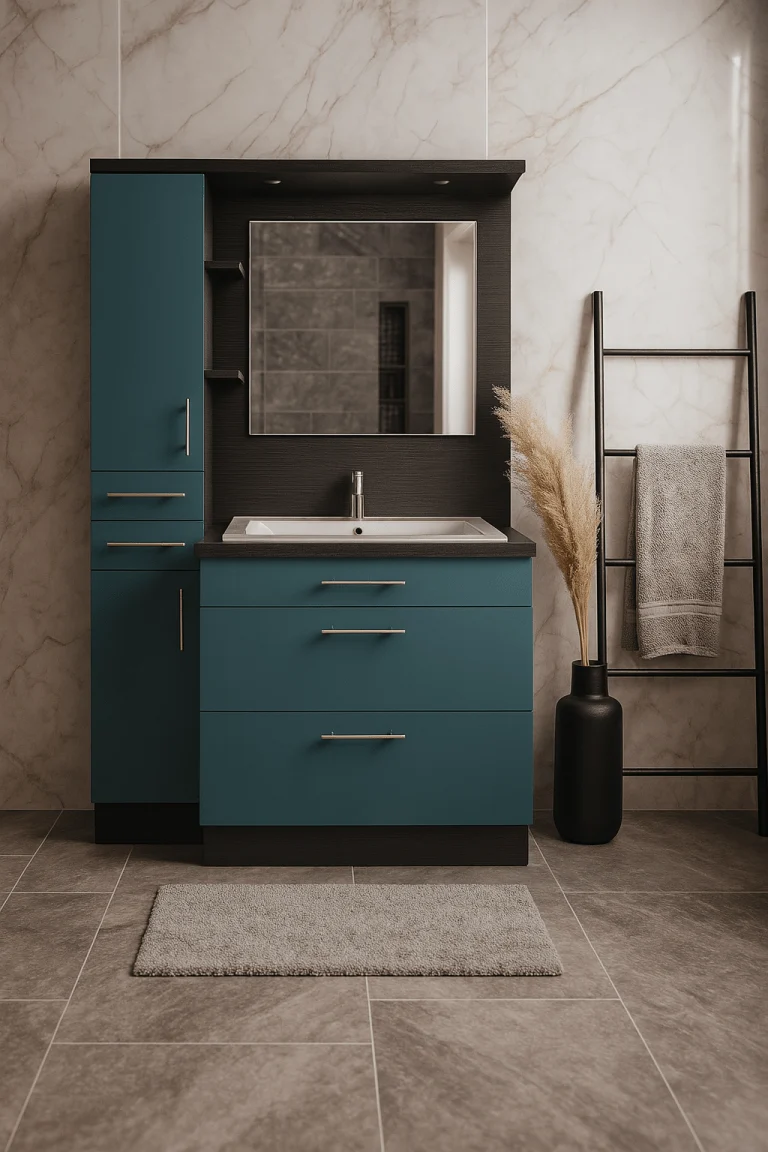
Designing a 3D kitchen with Aleker Designer: bathroom bleu ocean egger 1 1

A customer is more confident when the project is visible. A workshop is more confident when the same model also supports technical preparation.

In summary

3D kitchen design with Aleker is useful because it connects presentation, decision-making and manufacturing documents in a single workflow.
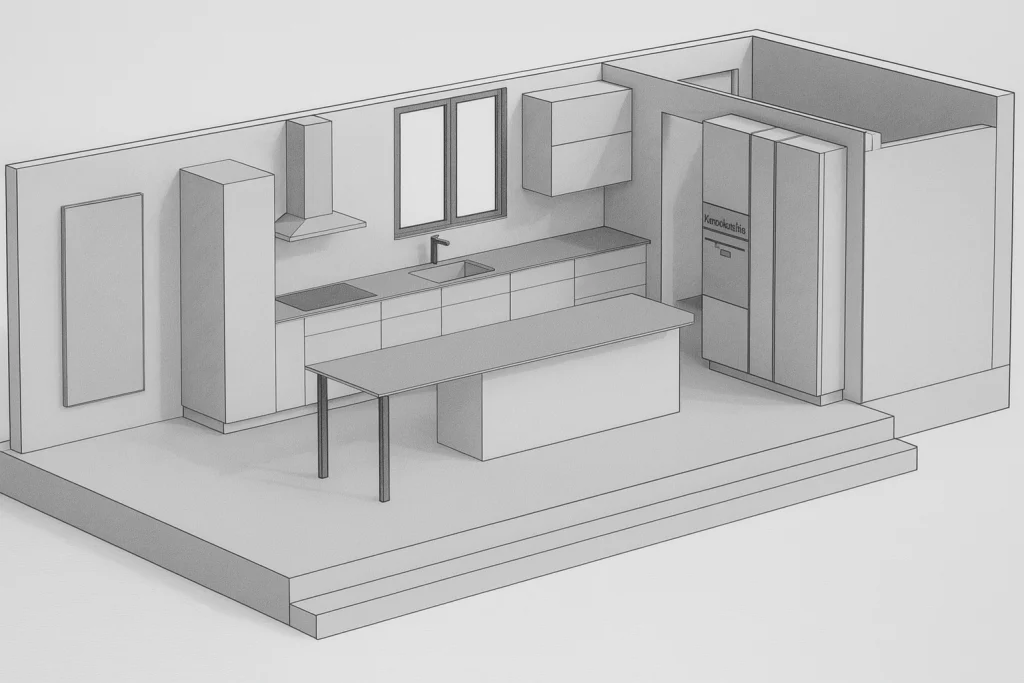
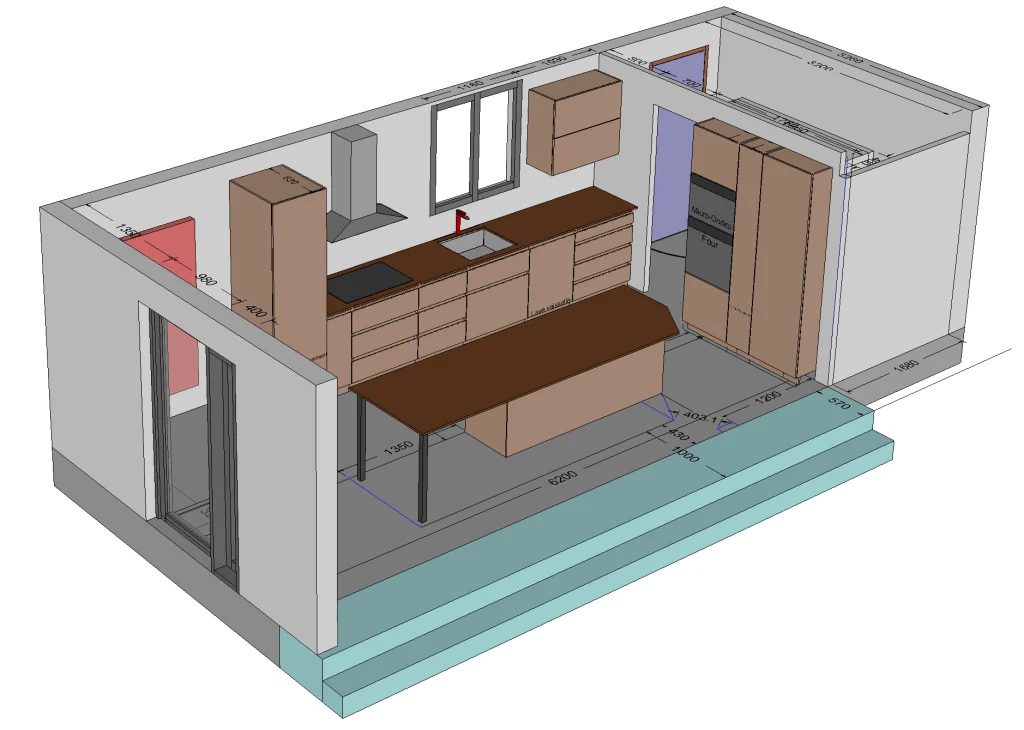
3D kitchen

From customer visualization to usable workshop plans

A 3D kitchen should not only help the customer imagine the final room. For a professional, it should also secure dimensions, layout constraints, appliance positions, materials and the information that will later be sent to the workshop.

Validate volumes, circulation, heights, alignments and working areas before manufacturing.
Prepare views and drawings that are clear enough for customer discussions and technical follow-up.
Avoid re-entering the same data between design, pricing, cutting and manufacturing.
Adapt cabinet, front, material and accessory libraries to company habits.
Kitchen designed in 3D with woodworking CAD software
3D kitchen plan with custom furniture layout
2D technical plan generated from a 3D kitchen design

Workshop checklist

How to evaluate this topic in your own workflow

Whatever the project type, the practical question is always the same: can the drawing become useful workshop information without starting again in another file? Use this checklist to connect the article to your own production method, your current documents and the constraints that usually create delays between customer approval and manufacturing.

Choose one recent project that represents your daily constraints, not an idealized demo case, and check how dimensions, materials and customer changes would be handled.
List the outputs you need after validation: customer view, drawing sheet, cut list, cost breakdown, PDF file, optimisation export, CNC data or a complete manufacturing file.
Check which components should become reusable library elements for future projects, including their materials, hardware, names, variables and production properties.
Identify the points where your current workflow requires re-entry, manual checking or duplicated documents, then verify whether a connected CAD workflow removes that friction.
Compare the information needed by each person involved: customer, designer, workshop, installer, subcontractor and machine operator.
Use the demo to test one change late in the project, because revision handling often reveals whether the workflow is genuinely suited to custom work.
Check how the project will be archived after delivery, because reusable references, reliable drawings and clear production data are what make the next similar project faster.
Evaluate the learning curve against the recurring value: a method that saves time on every revision, drawing sheet and cut list matters more than a fast first impression.

Want to see Aleker on your own projects?

A free demo is the fastest way to evaluate the workflow with your real workshop needs.

Request a demo